Video to Image
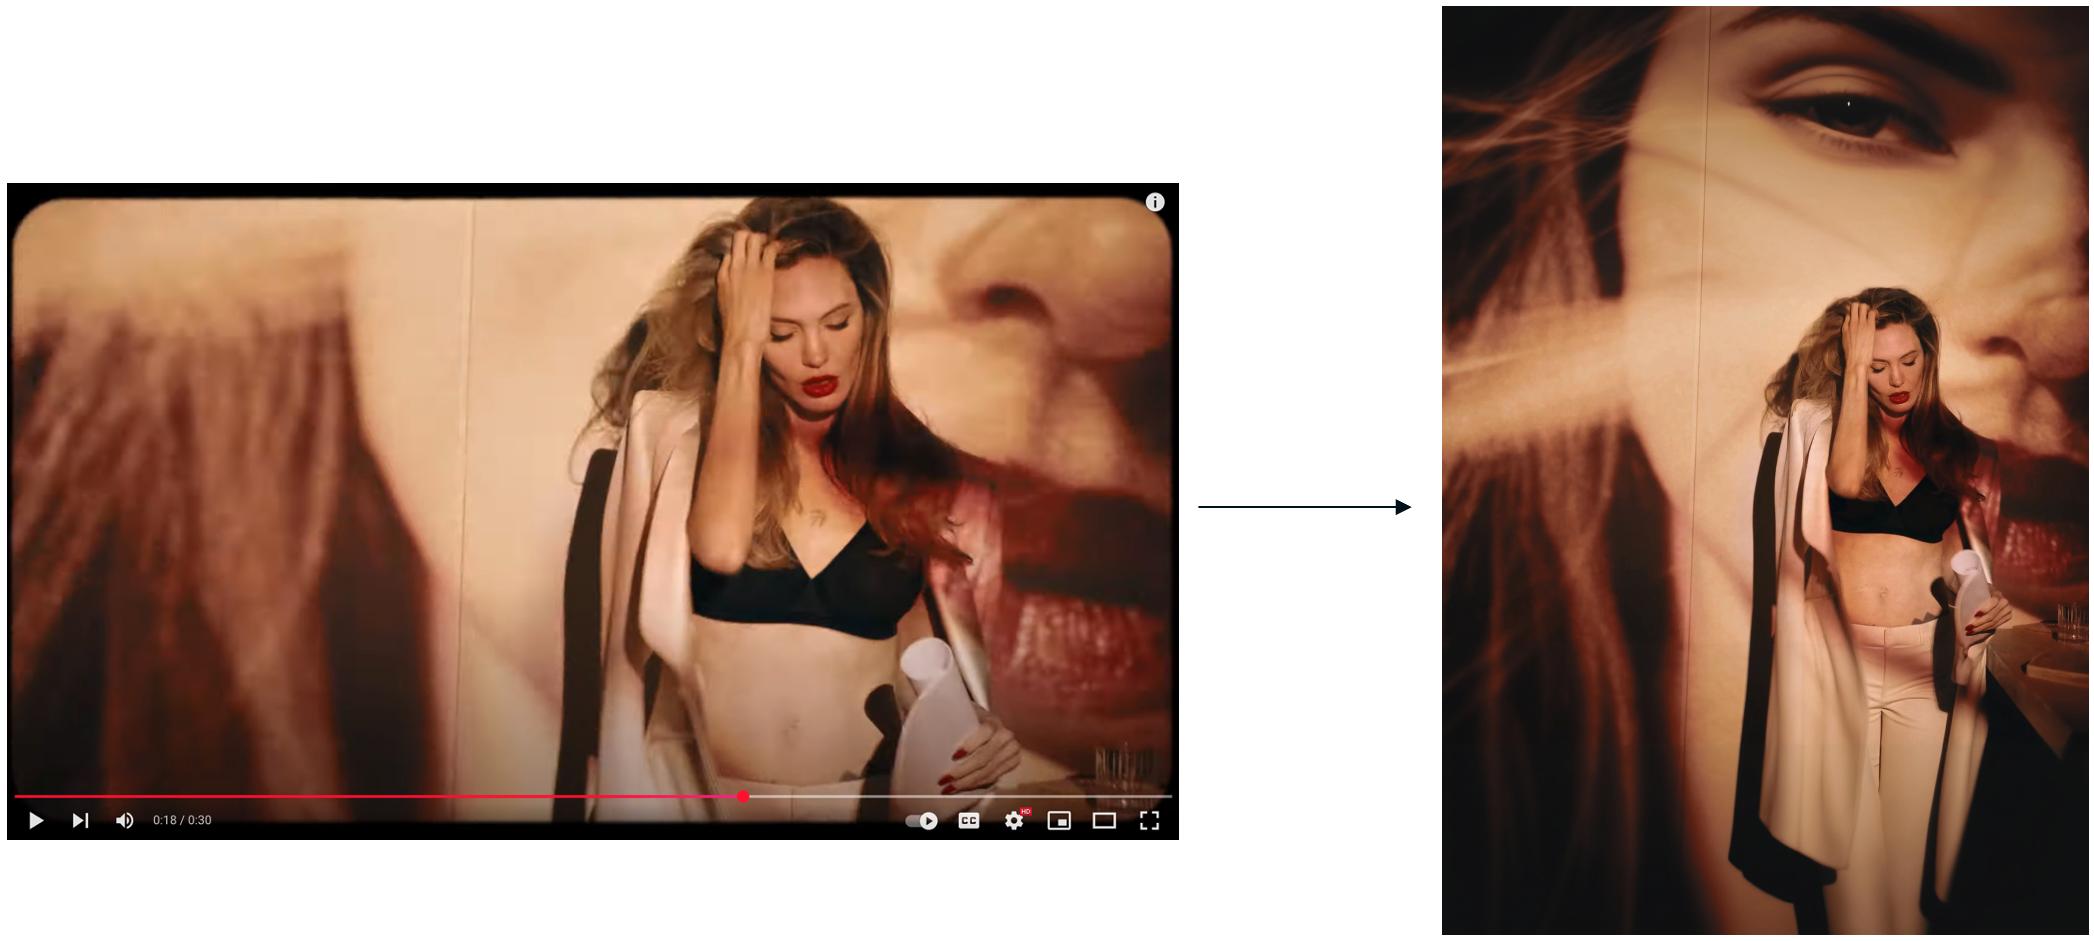
Extract the most visually compelling frames from a video and convert them into ready-to-use still images. The system adapts each frame to your target dimensions, extends the borders to fit the format, and can optionally add your logo.
How It Works
AI extracts the most visually compelling frames from your video and converts them into ready-to-use still images. It adapts each frame to your target dimensions, extends the borders to fit the format, and can optionally add your logo.
How to Use
Step 1 — Name the Workflow
Enter a title (3–50 characters) and an optional description.
Step 2 — Upload Your Video
Upload an MP4 video or select one from your brand library.
- Format: MP4 only
- Maximum size: 500 MB
Step 3 — Set Output Dimensions
Add one or more width × height dimensions.
- Each dimension generates one adapted still image.
- Click Add More Dimensions to generate multiple formats in one run.
- Range: 32–4096 px per side.
Step 4 — Add a Logo (Optional)
Select a logo from your brand library to overlay on all generated images.
Step 5 — Generate
- Click Create Workflow to start processing.
- Click Refresh to check progress.
- Click Download to save an image.
- Click Edit Creative to further refine it with AI.
Options
- Video: MP4, up to 500 MB
- Logo: Optional (brand library)
- Output Dimensions: 32–4096 px per side, multiple sizes per workflow
- Title: 3–50 characters
- Description: Optional
Best Practices
- Add all dimensions in one run to generate multiple formats at once.
- Use well-composed footage for better frame selection.
- Add a logo to keep outputs consistent across formats.
- Avoid extreme aspect ratio changes to reduce heavy border extension.
- Use Like/Dislike to organize and curate the best results before downloading.