Text to Image
Generate brand-accurate product imagery from a written prompt. Text to Image trains a custom AI model on your tagged product images, then reproduces your product faithfully from a prompt while placing it in any scene you describe. Once trained, your model enables unlimited creative exploration with natural scene integration — all on-brand.
Guides
- Follow our Dataset Preparation Guide to collect a set of images to achieve the best results.
- Follow our Prompting Guide to generate your first creatives.
How It Works
Text to Image is built around a custom model trained on your own product images. You tag each product during training, then reference that tag in your prompt — the model reproduces the product accurately while generating the scene you describe around it, keeping your product true to life in entirely new contexts. Once your model is trained, you create themes by describing the look you want and choosing your output sizes, and the platform generates on-brand creatives in your trained style.
How to Use
Step 1 — Select or create a brand
Select a brand to organize your creative assets. This creates a dedicated workspace where all your models, products, and generated creatives are stored. Your team members can collaborate within this brand workspace.
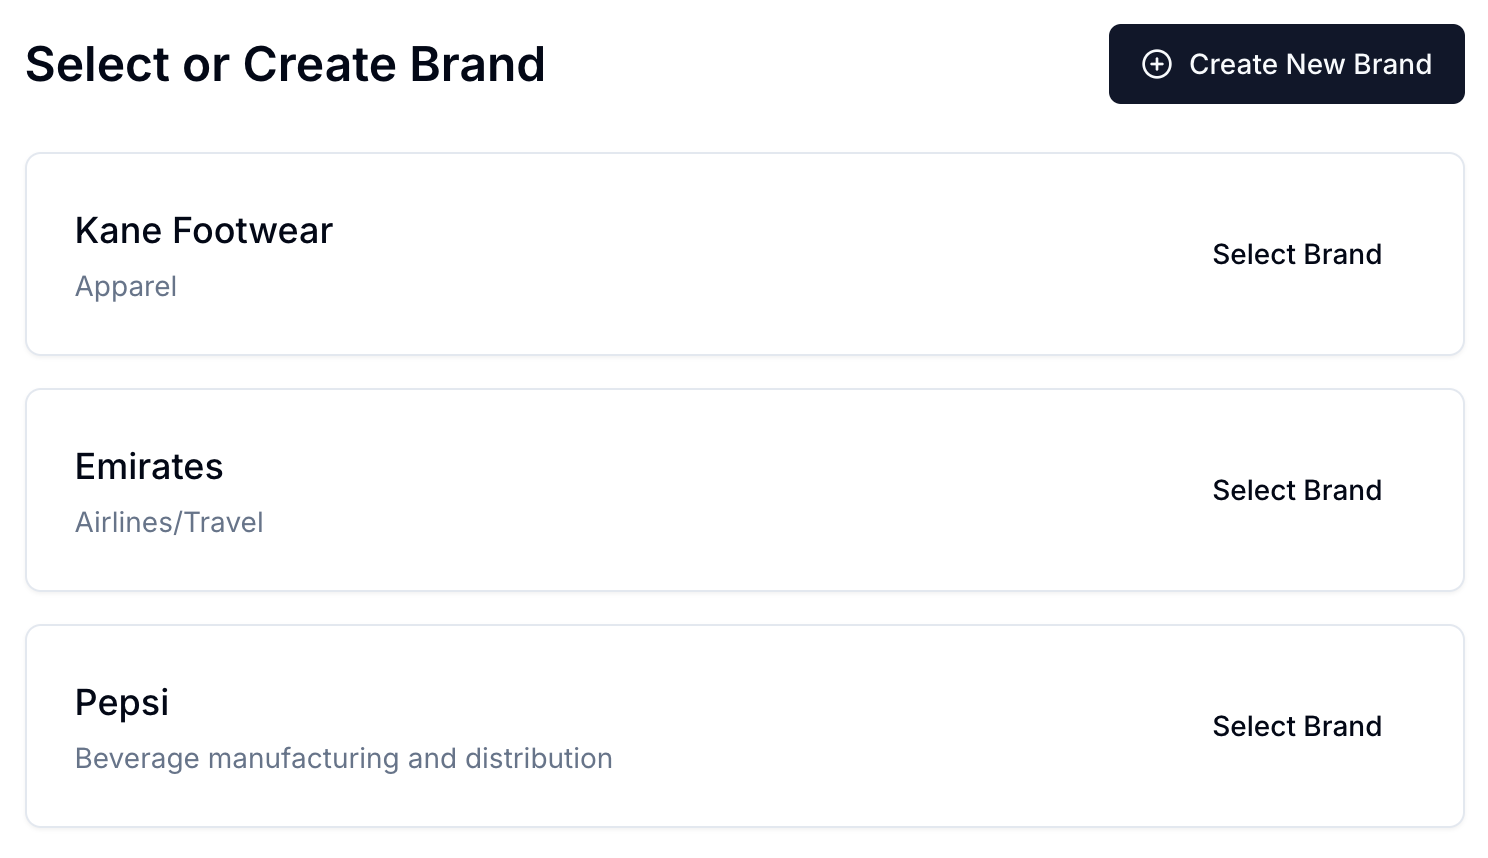
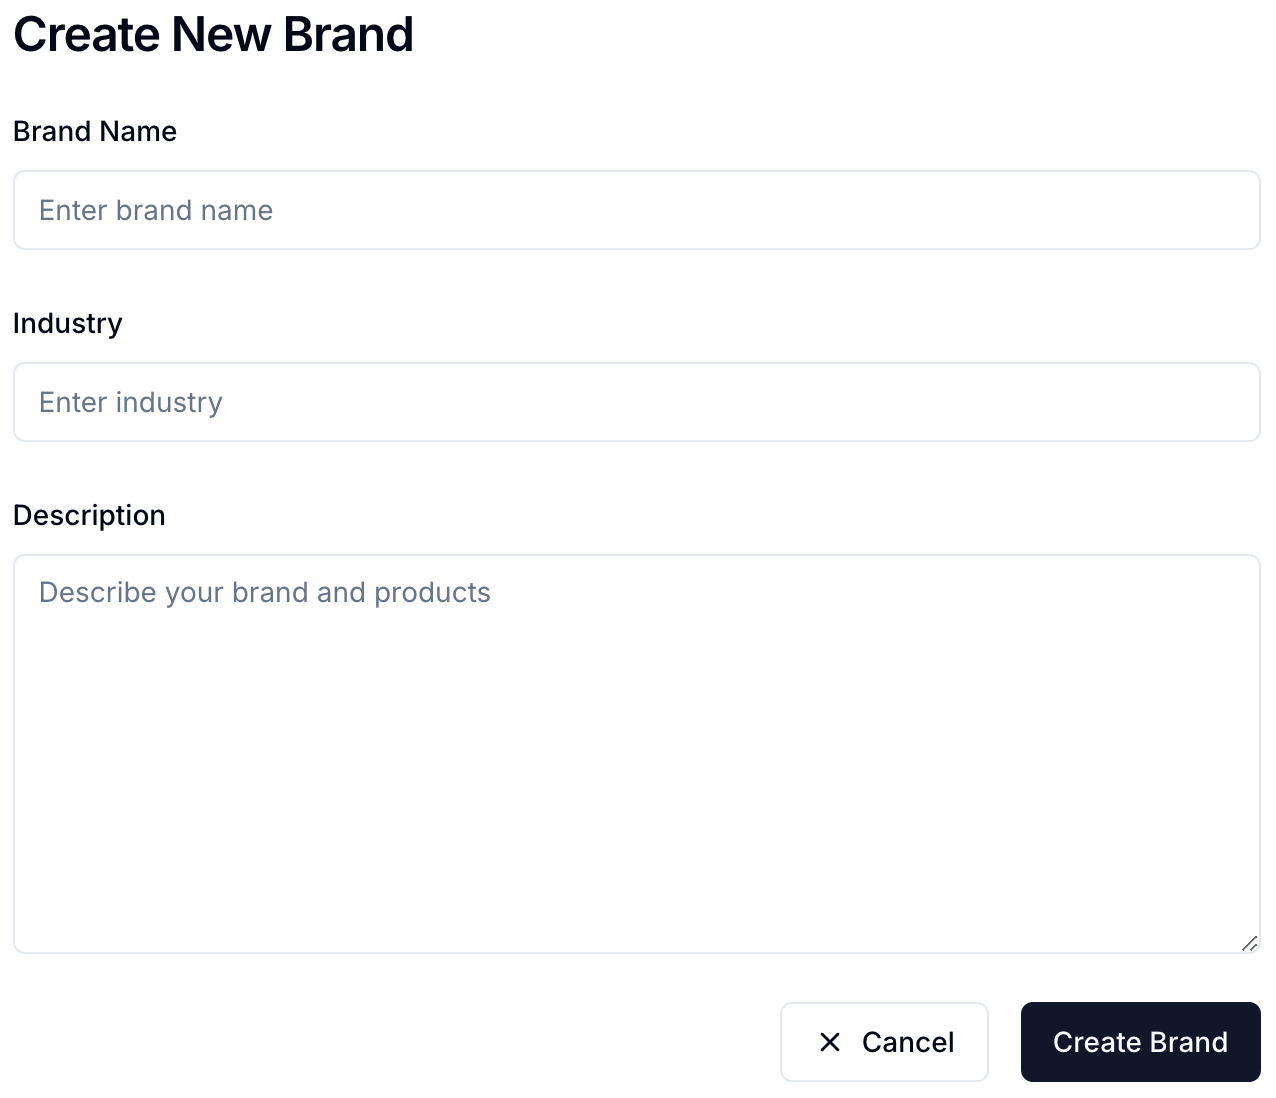
Or create a new brand if you haven't already.
Step 2 — Upload your product assets
Upload your product assets to create a training dataset. Group similar products into categories for better results — uploading each product into its own dedicated category lets the model learn each one accurately. Follow our Dataset Preparation Guide for the best results.

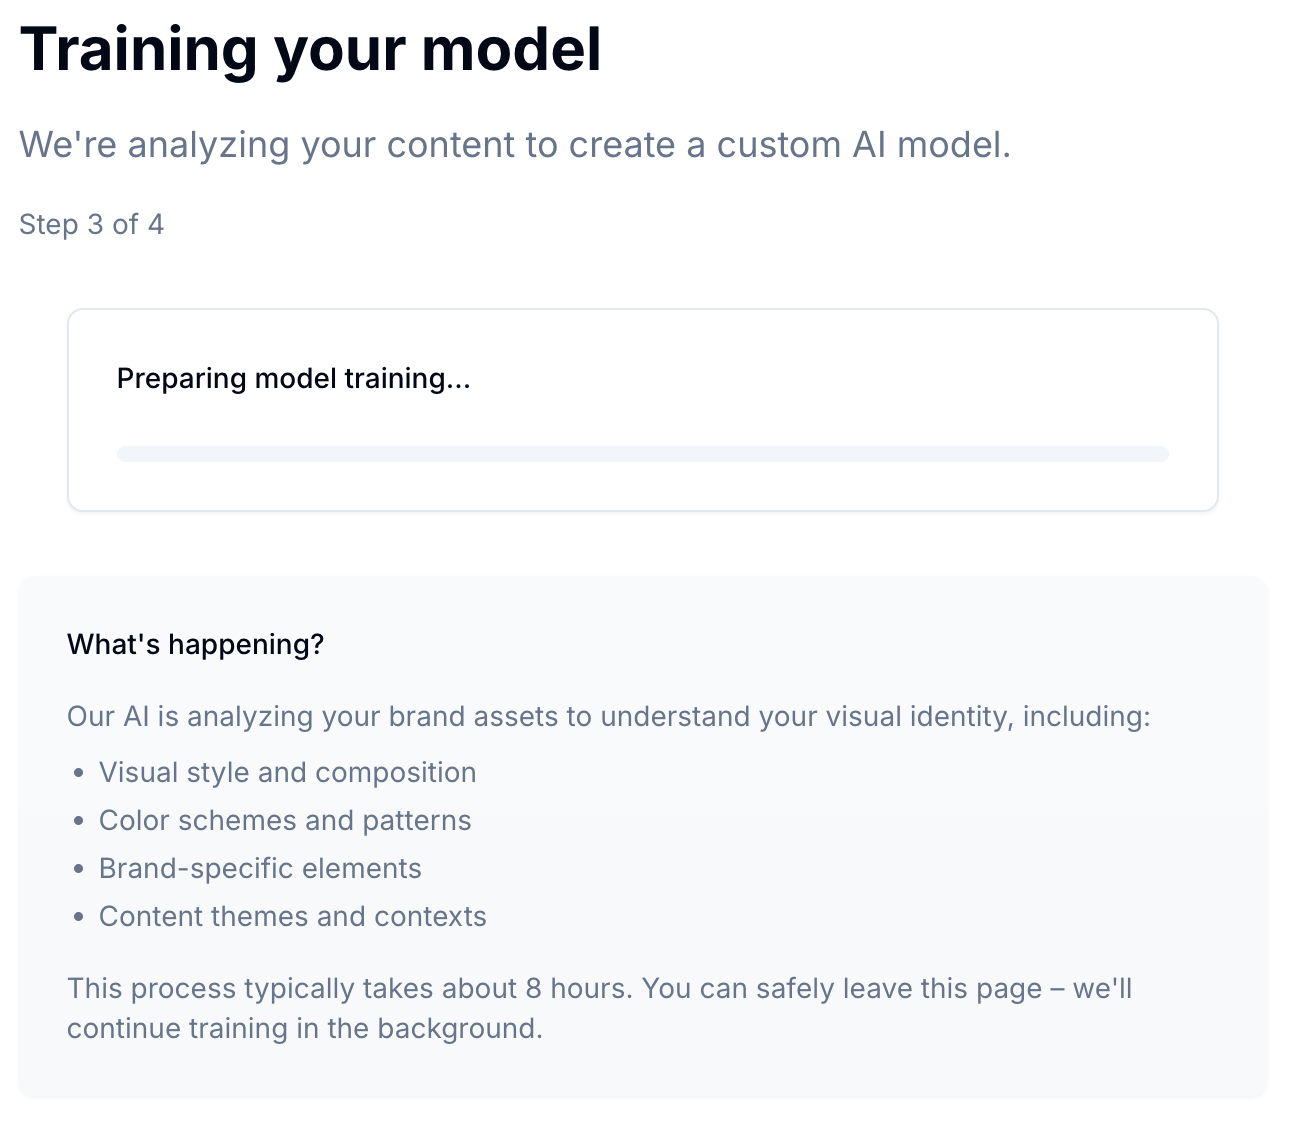
Step 3 — Train a custom model
Train a custom model specifically for your brand. This process typically takes 8–18 hours depending on dataset size and complexity. Each model is optimized to understand your specific products and brand aesthetic.
Step 4 — Create a theme and generate
In Creative Studio, create a new theme: describe the look you want and pick the output sizes you need. Reference your product by its tag in square brackets, then describe the scene — the platform generates creatives in your trained style.
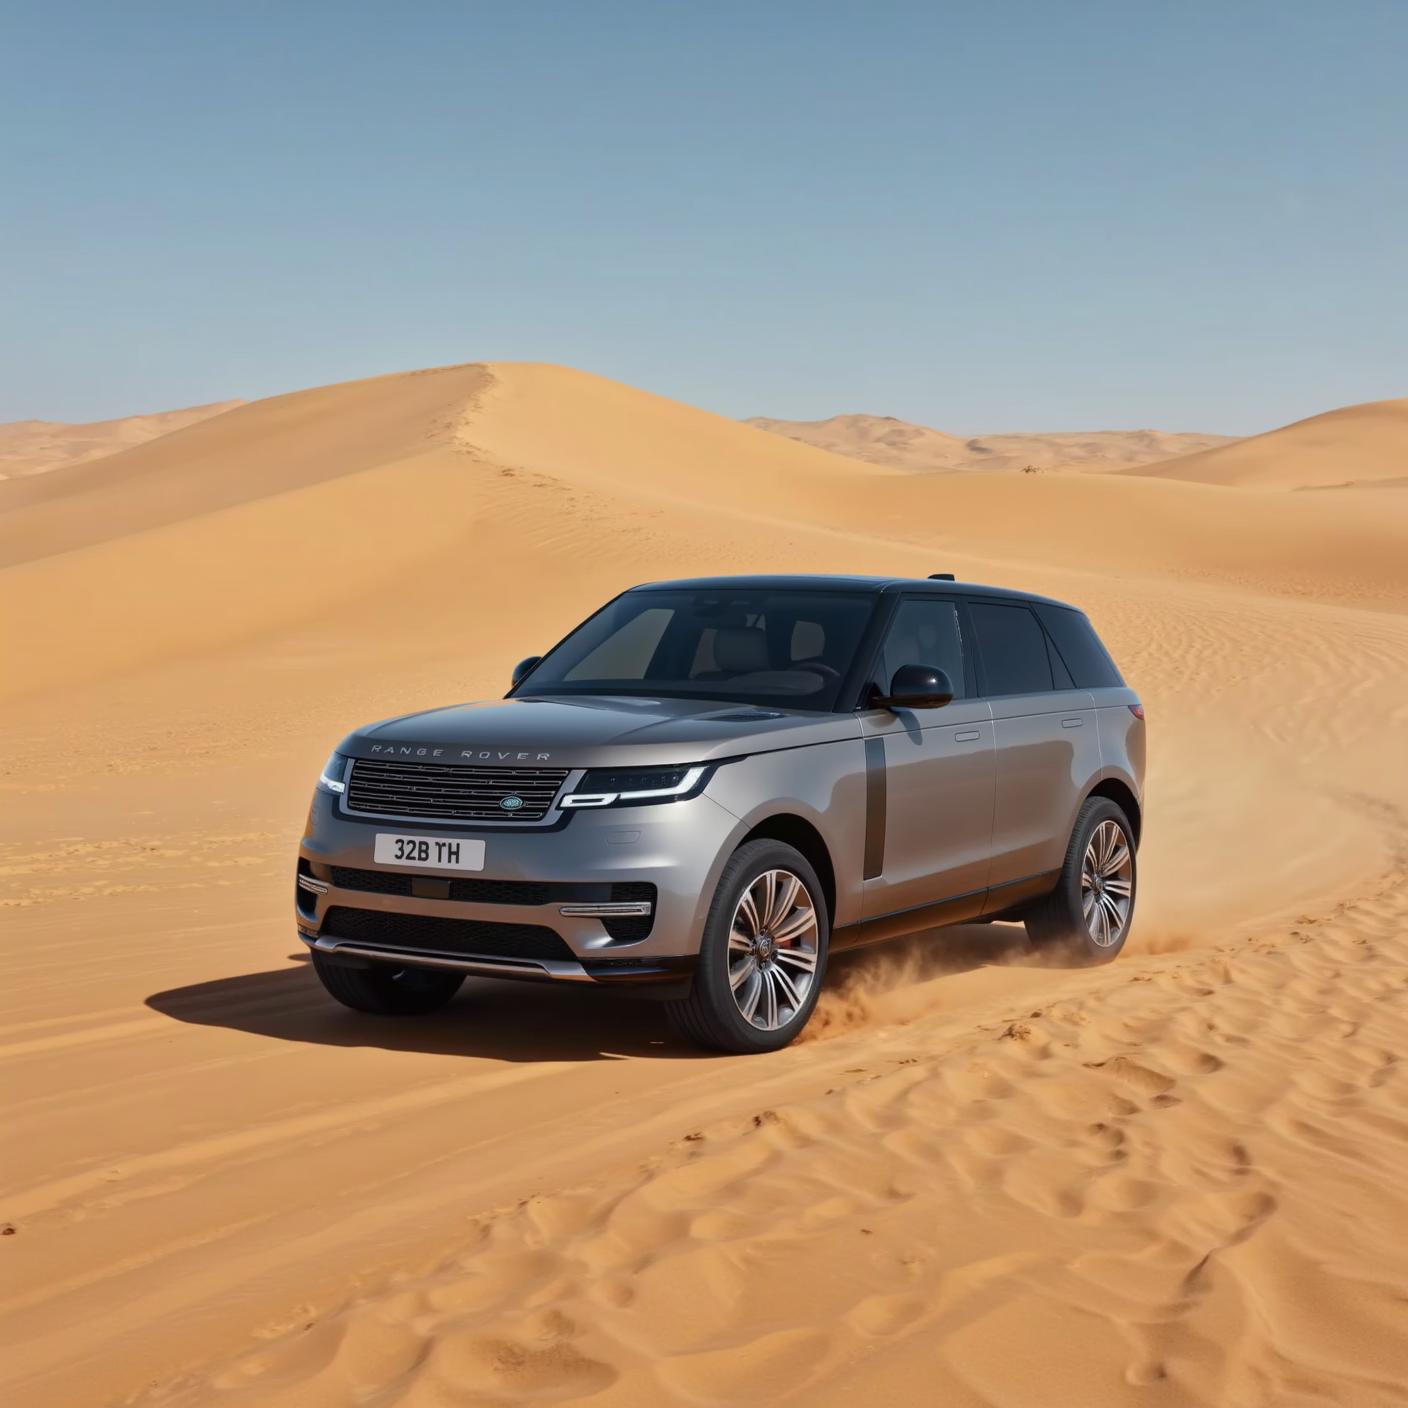
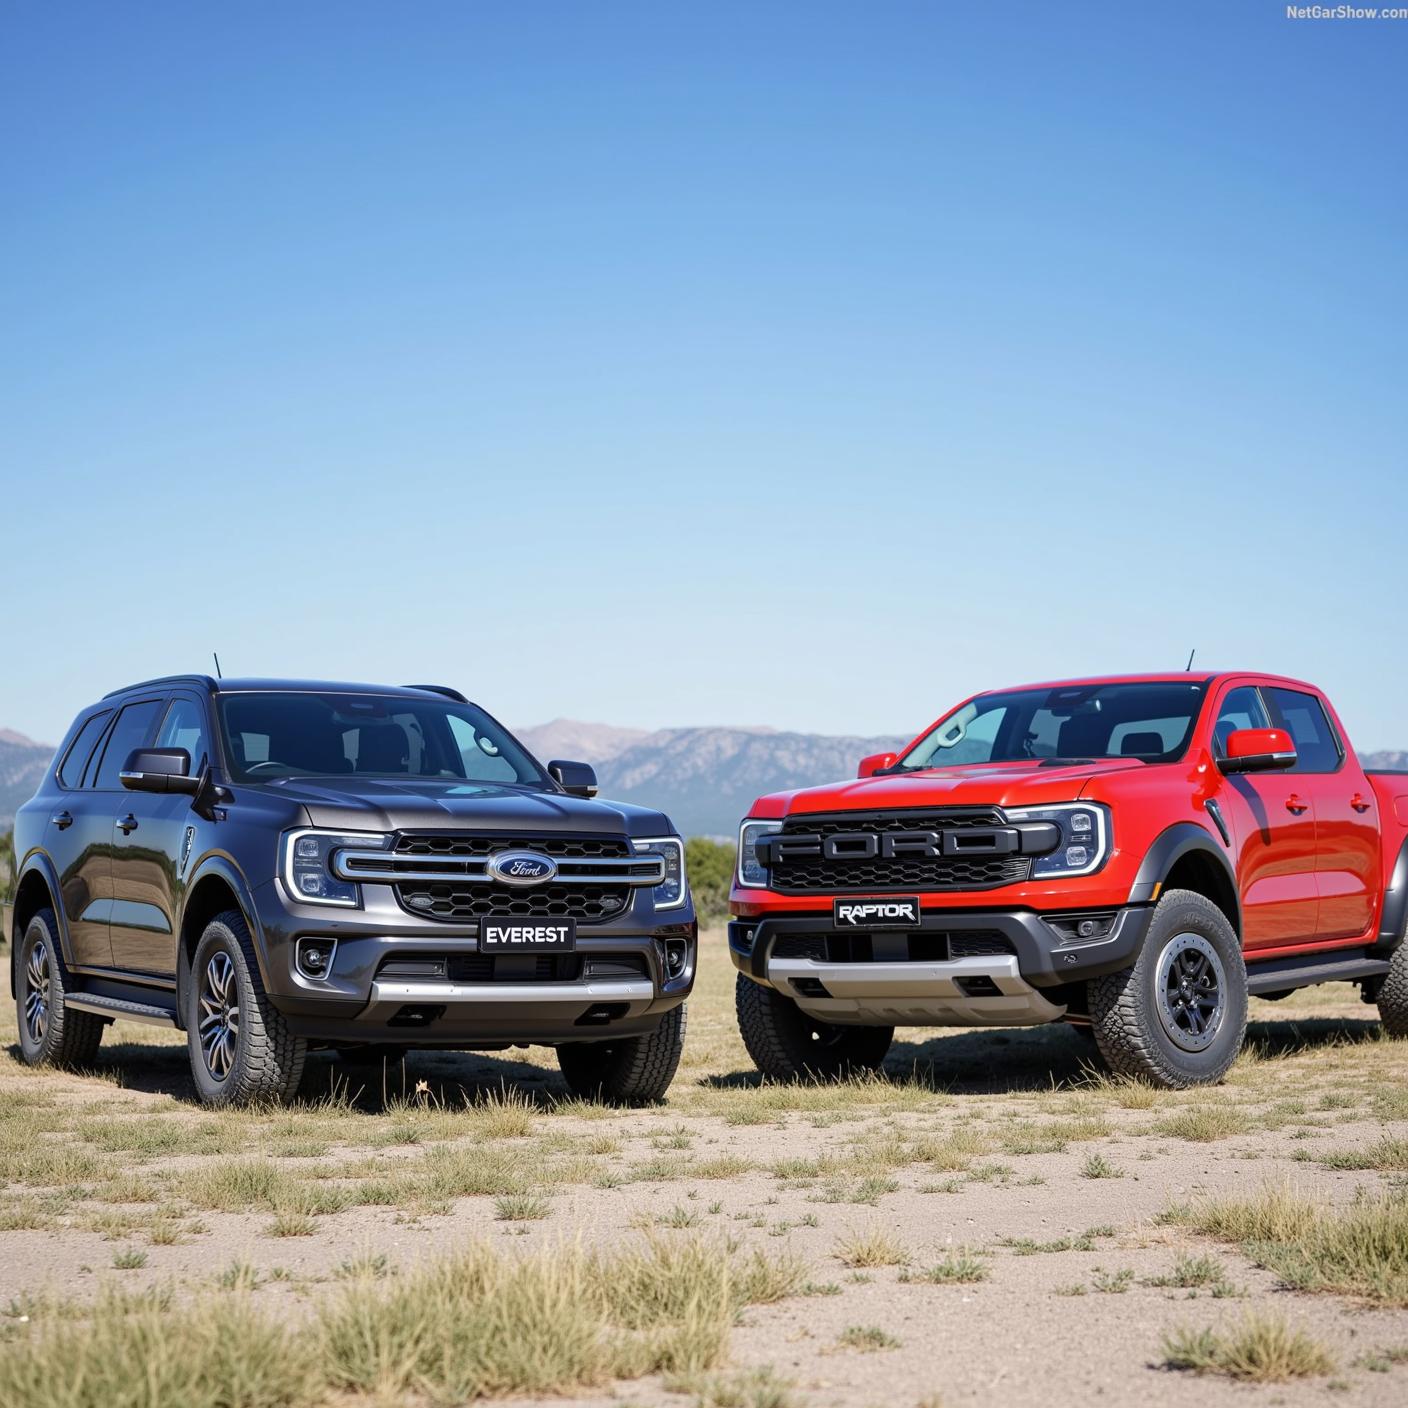
Example: [Ford Ranger Raptor 2024] speeding on the surface of Mars, kicking up dust, photorealistic
The more descriptive your prompt, the better the output — include details like camera angle, lighting, composition, and environment to guide the generation. Follow our Prompting Guide for a deeper walkthrough.
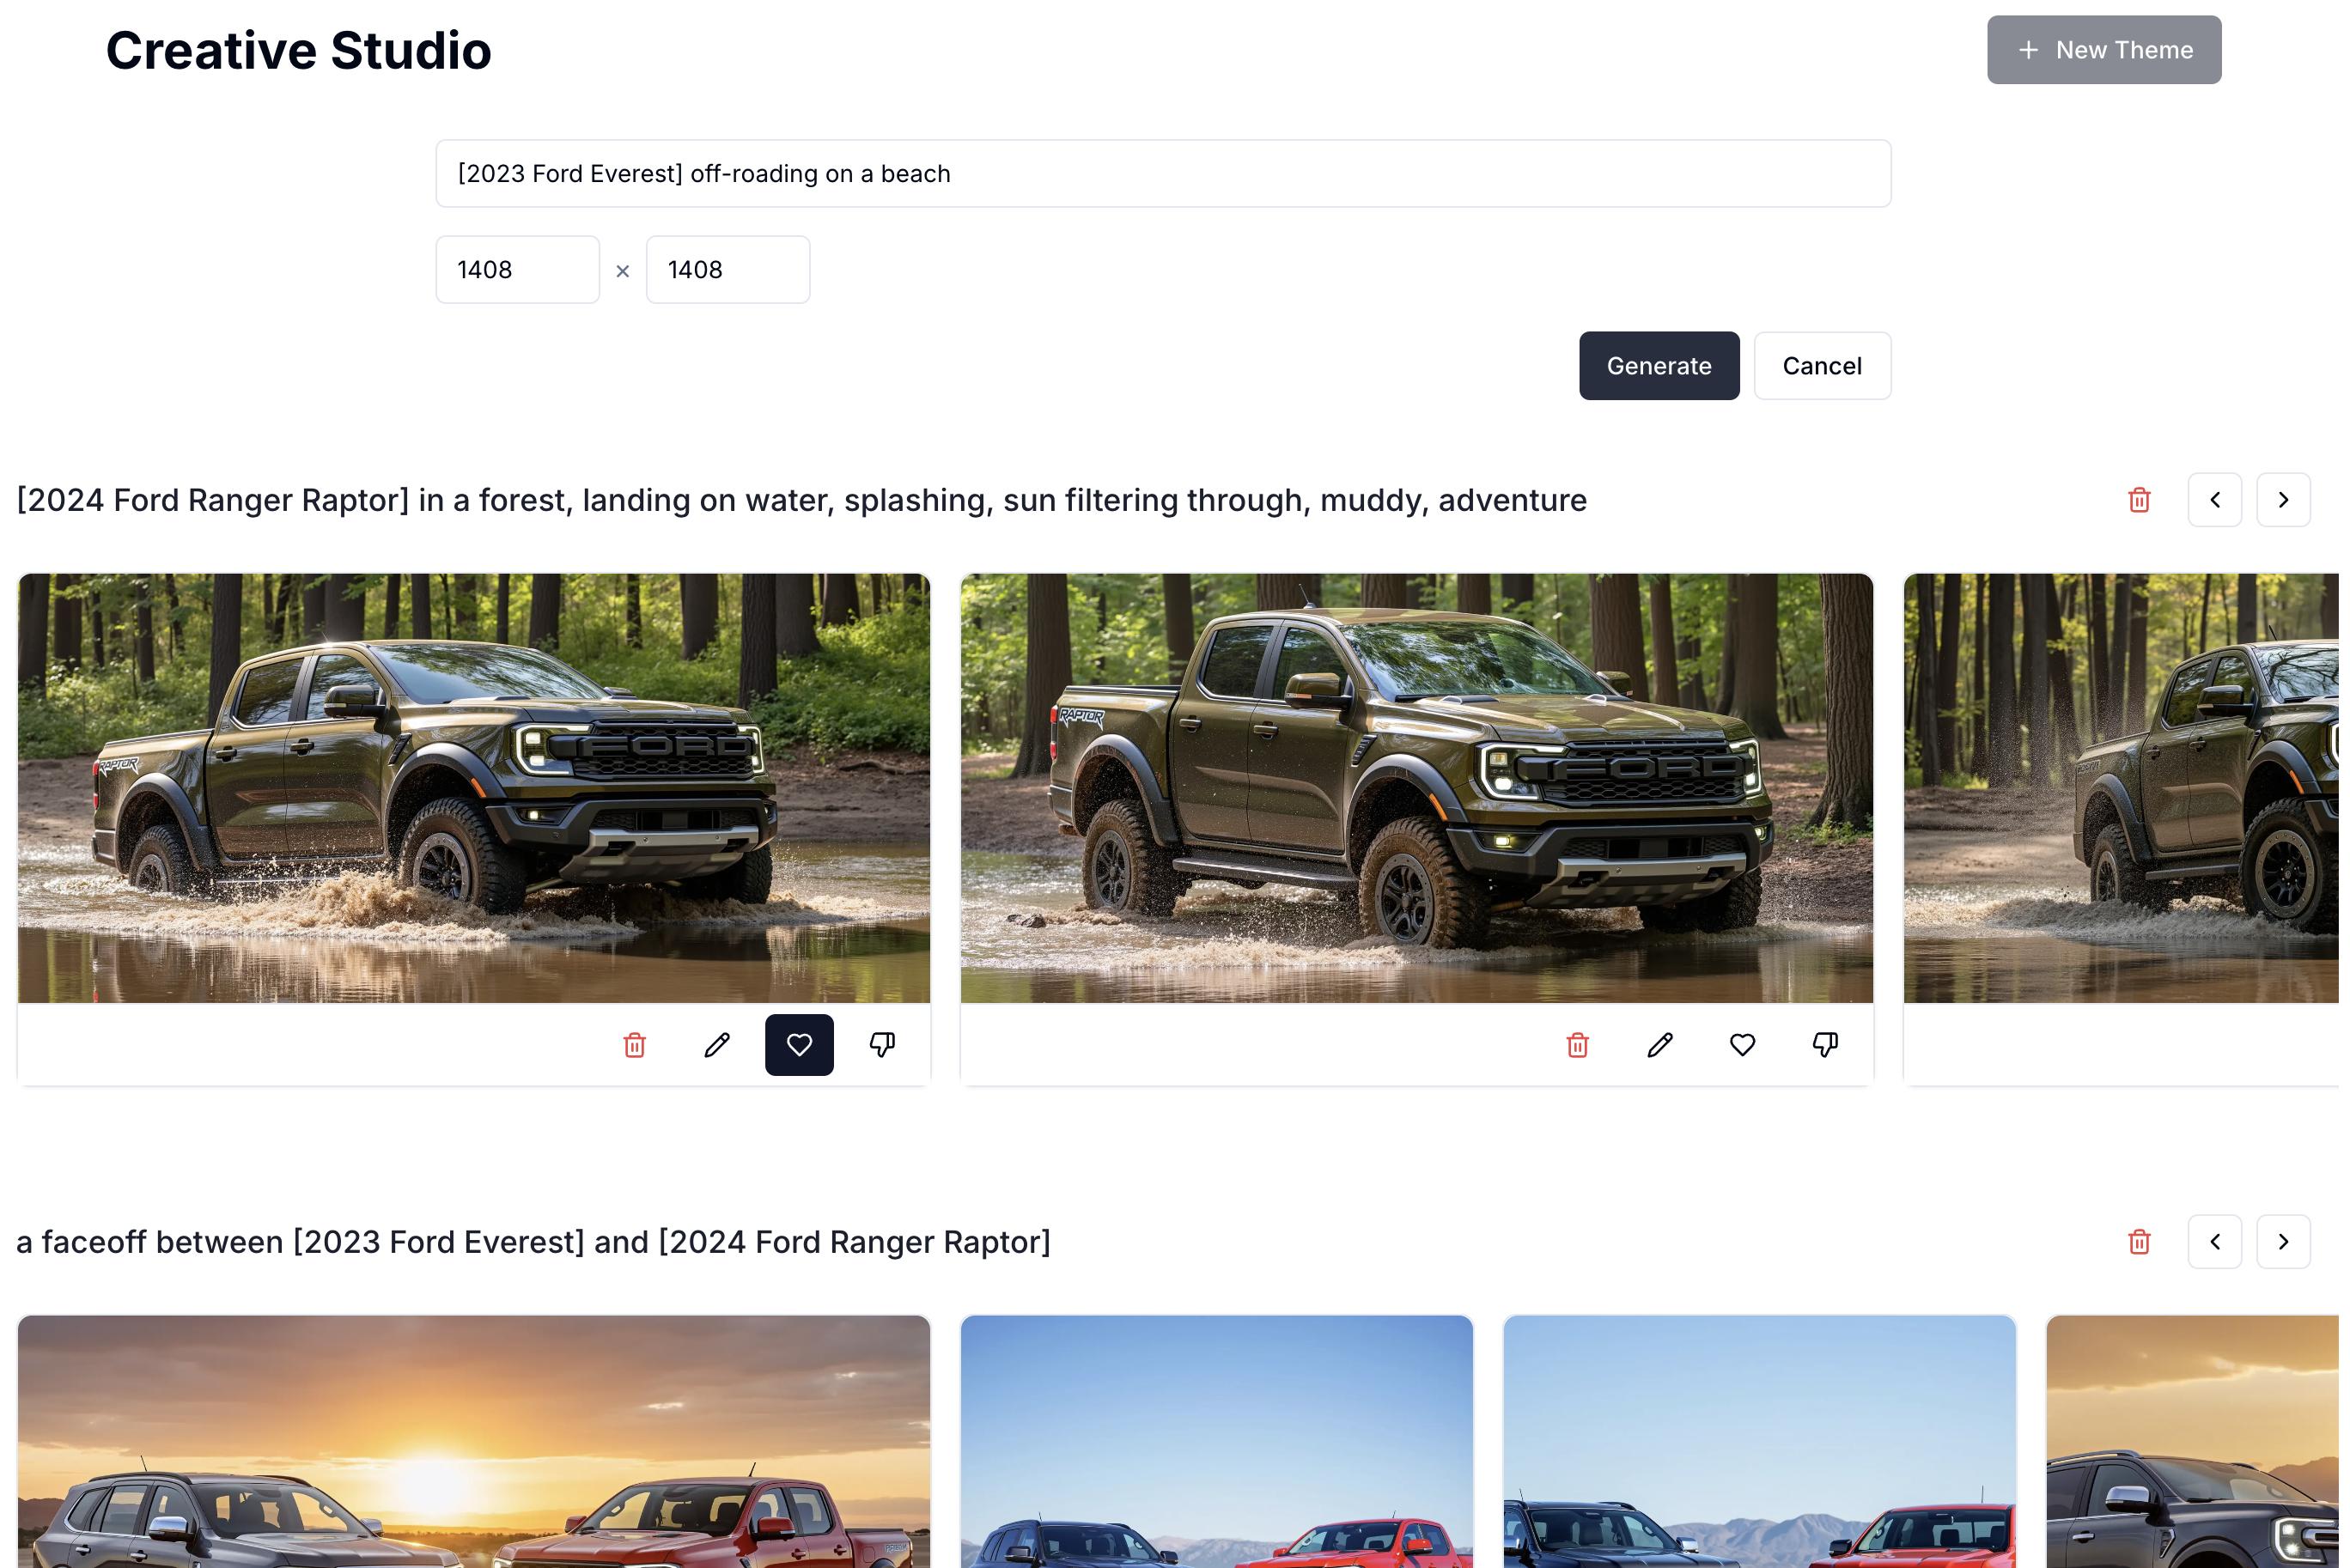
Step 5 — View results
View results from the theme generation. Images are produced in batches for efficient review. Use the like, dislike, and delete functions to organize results — liked images move to the front of your collection while disliked ones move to the end.

Step 6 — Edit and refine
Edit and refine your favorite outputs with natural language instructions. Select any generated image and click the edit button to make specific adjustments. Simply describe the changes you want (e.g. "make the background brighter" or "change the scene to a beach") and the model will create a refined version. You can also adjust the dimensions of your creative to fit specific media placements.
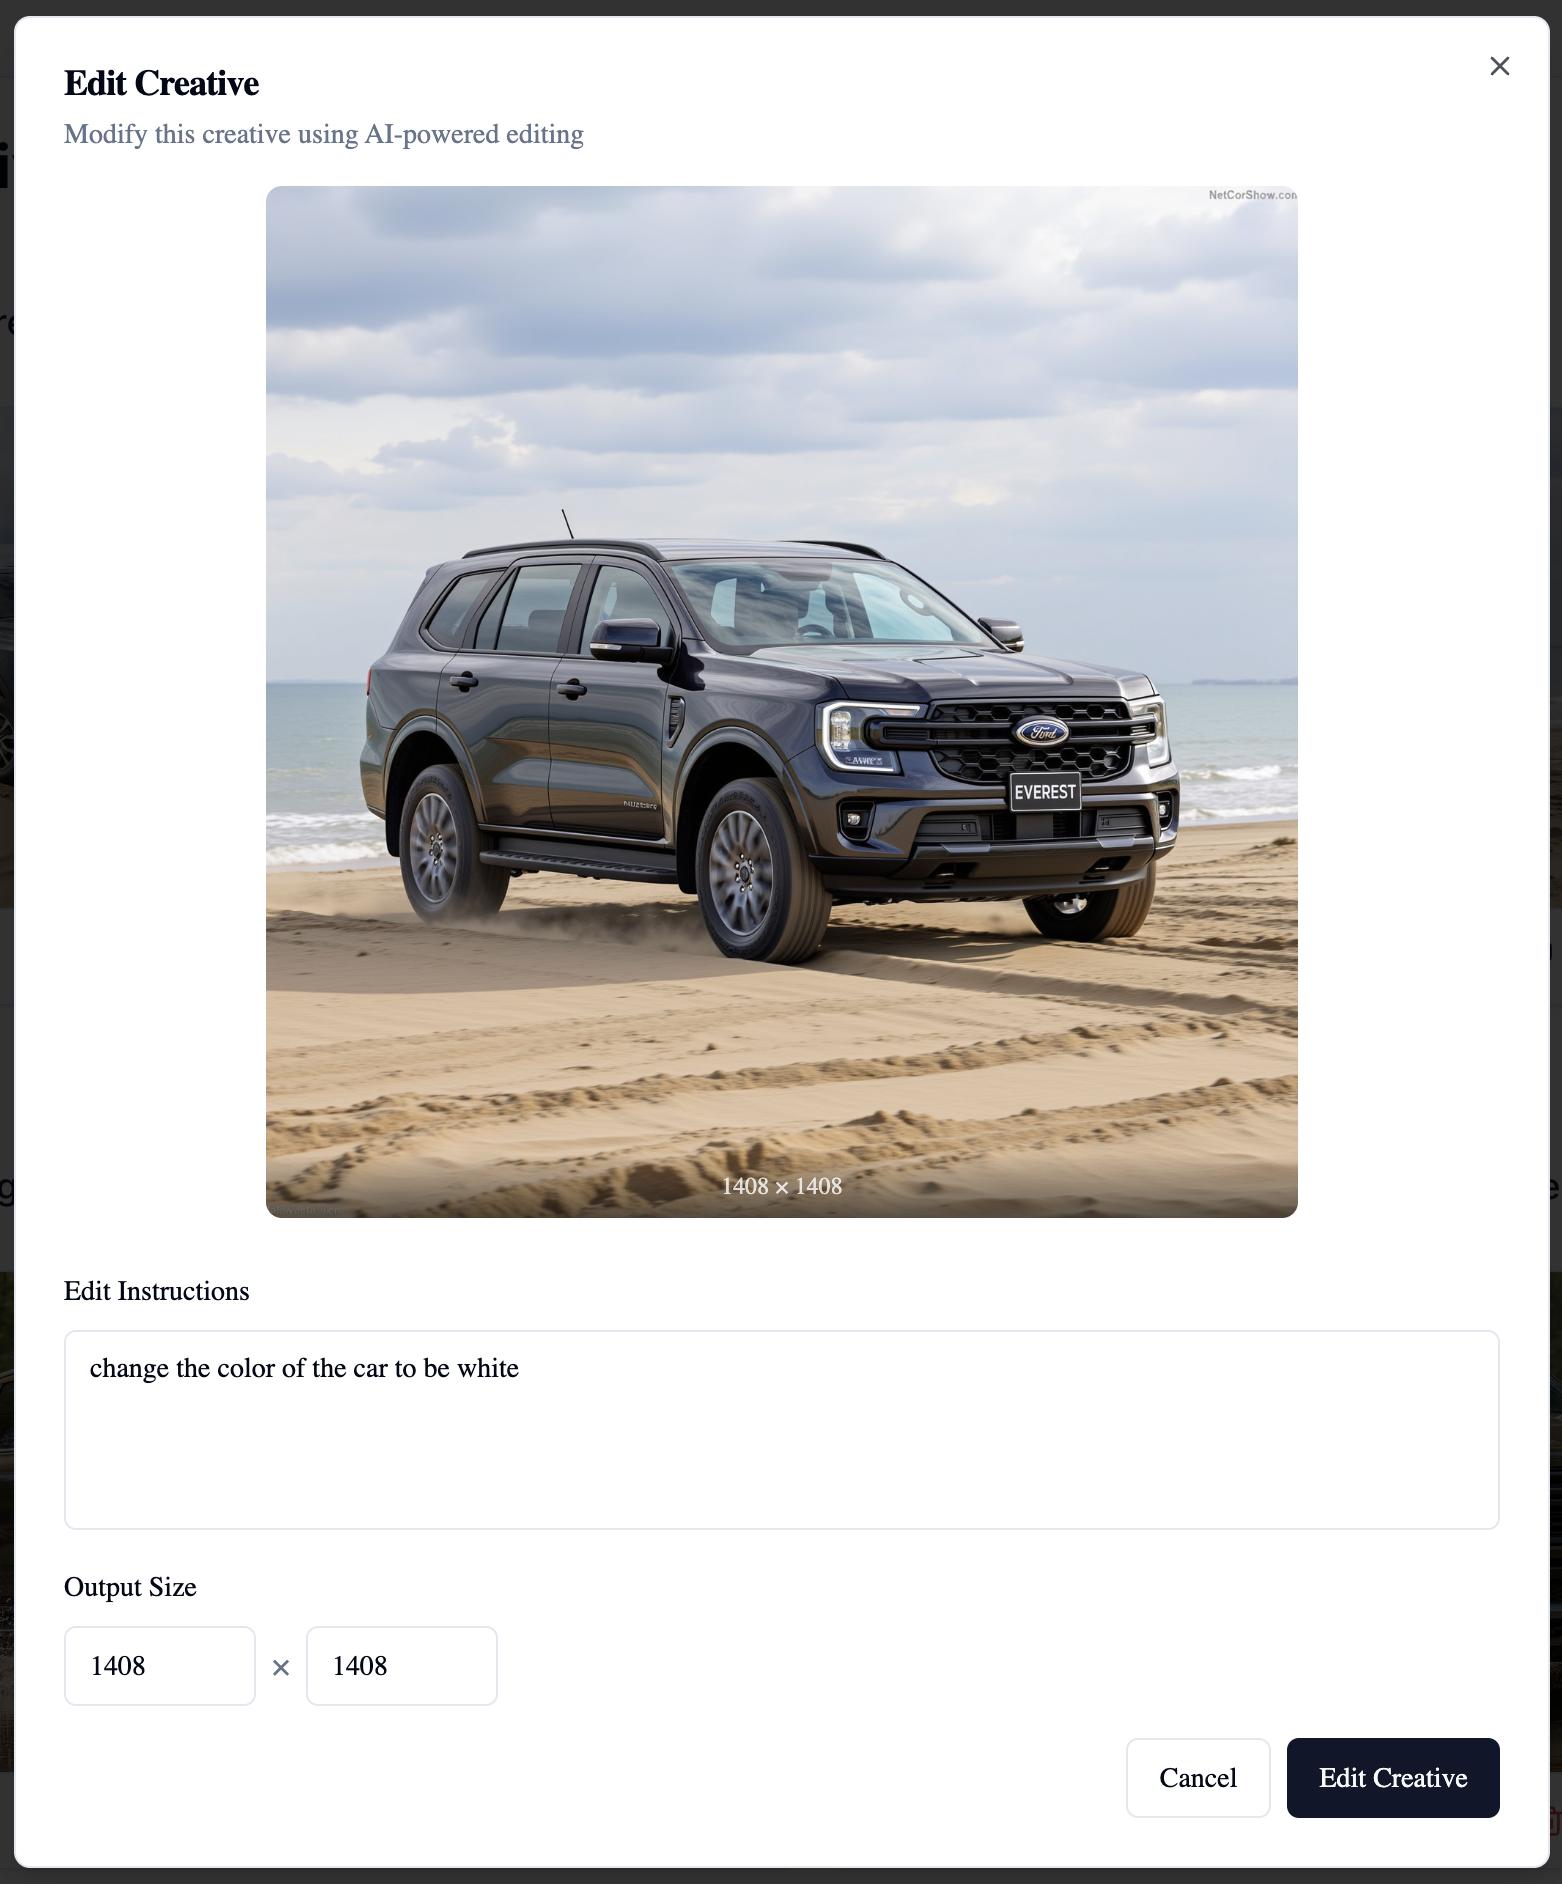
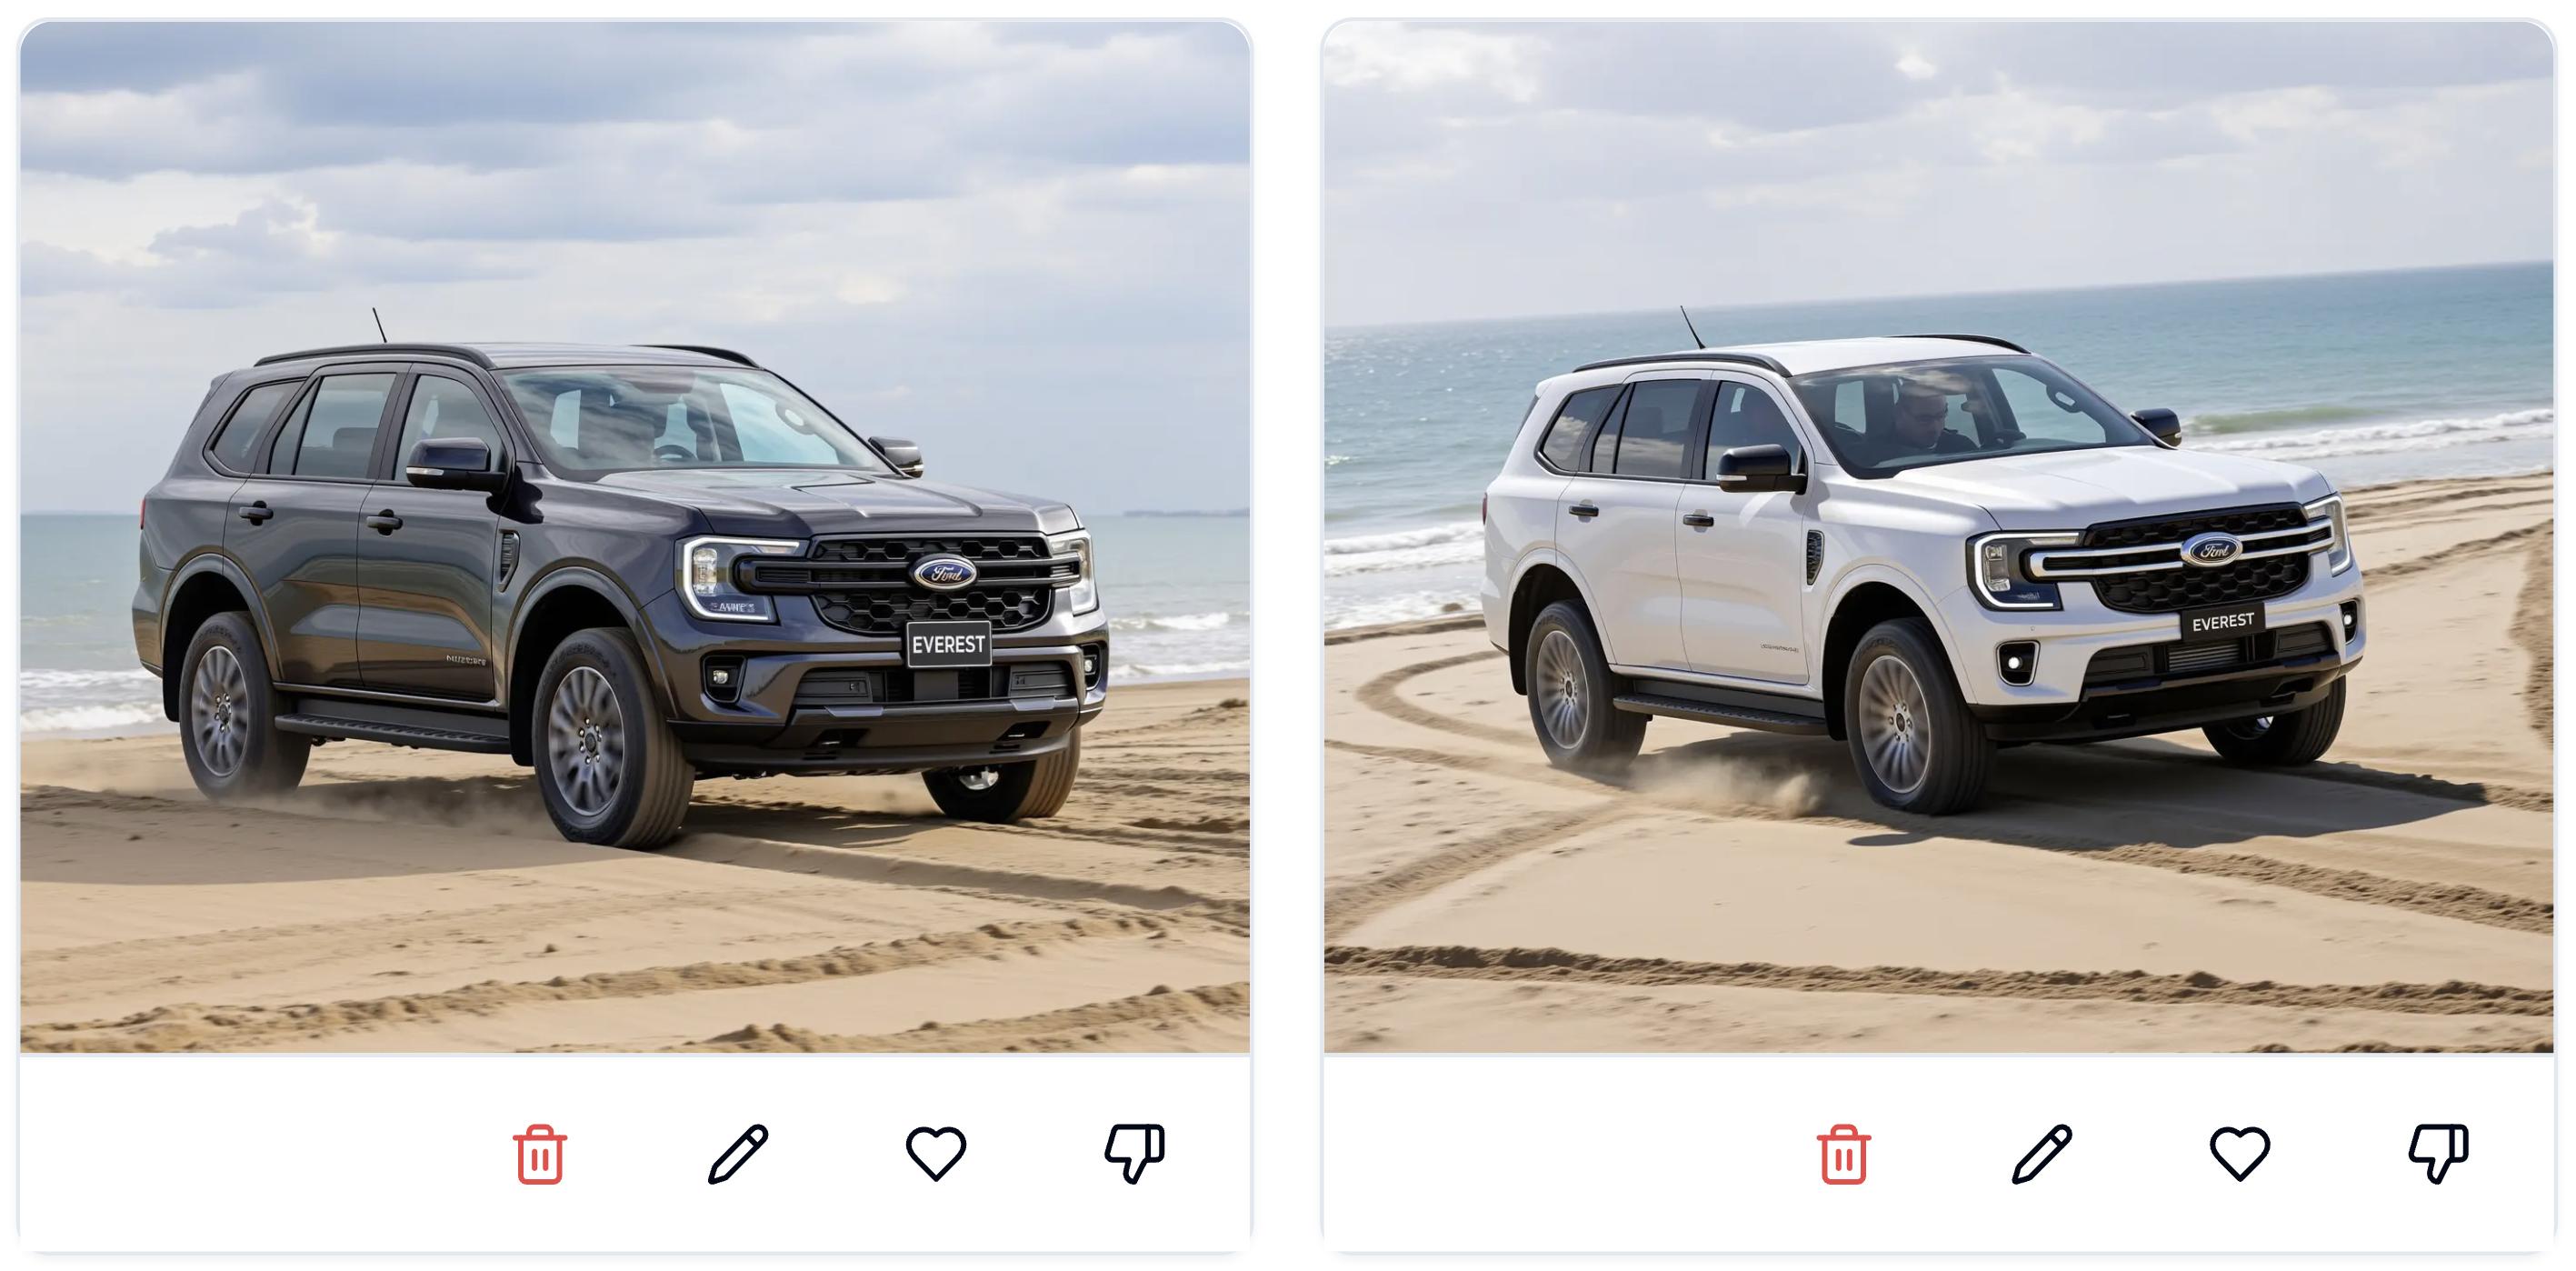
View the edited result and keep iterating.
Best Practices
- One product per category — upload each product separately for the most accurate reproduction.
- Always use your product tag — wrap it in square brackets so the model knows exactly what to generate.
- Be descriptive — specify camera angles, lighting, mood, and scene composition. A detailed prompt produces a stronger result.
- Use high-quality, consistent product photography for training to get the best fidelity.
Limitations
- Products with intricate details or text may show reduced fidelity in generated images.
- Training requires 8–18 hours before generation can begin.
- Best results require high-quality, consistent product photography.
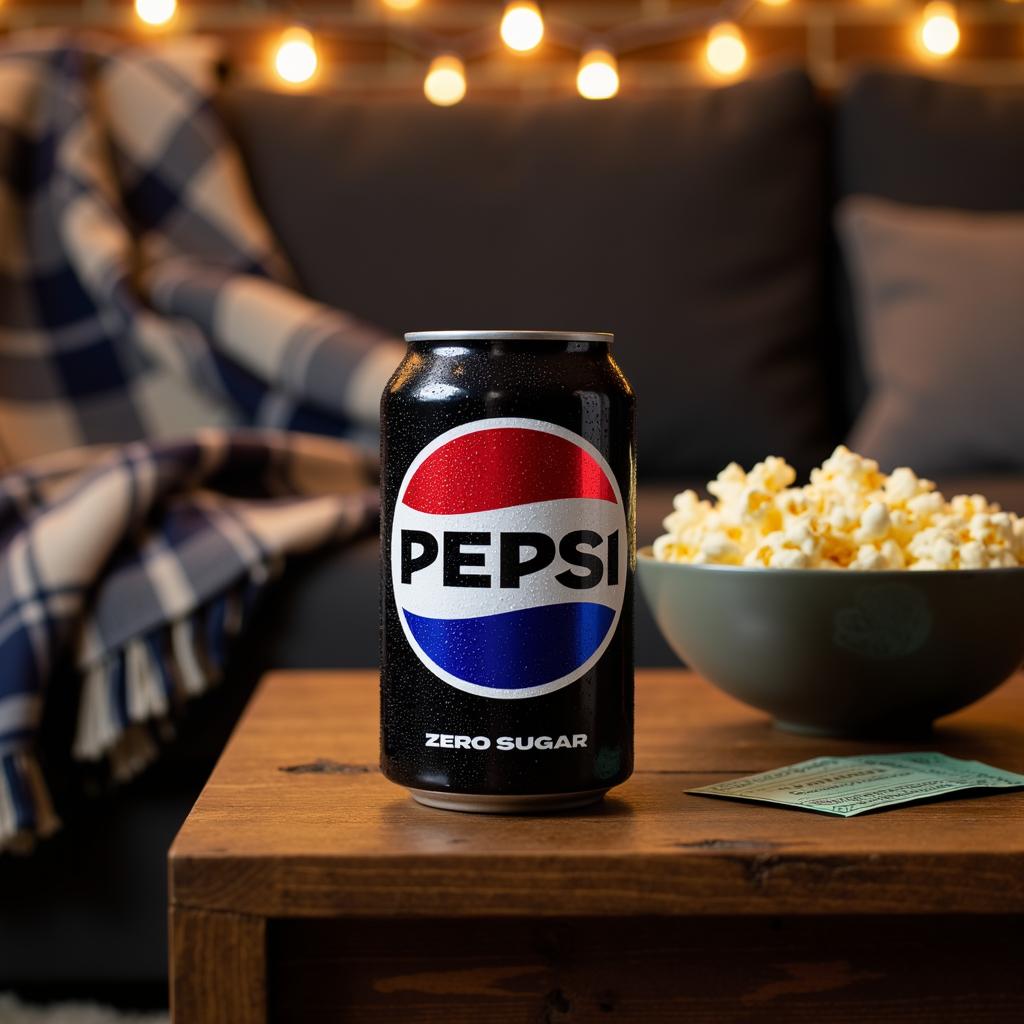
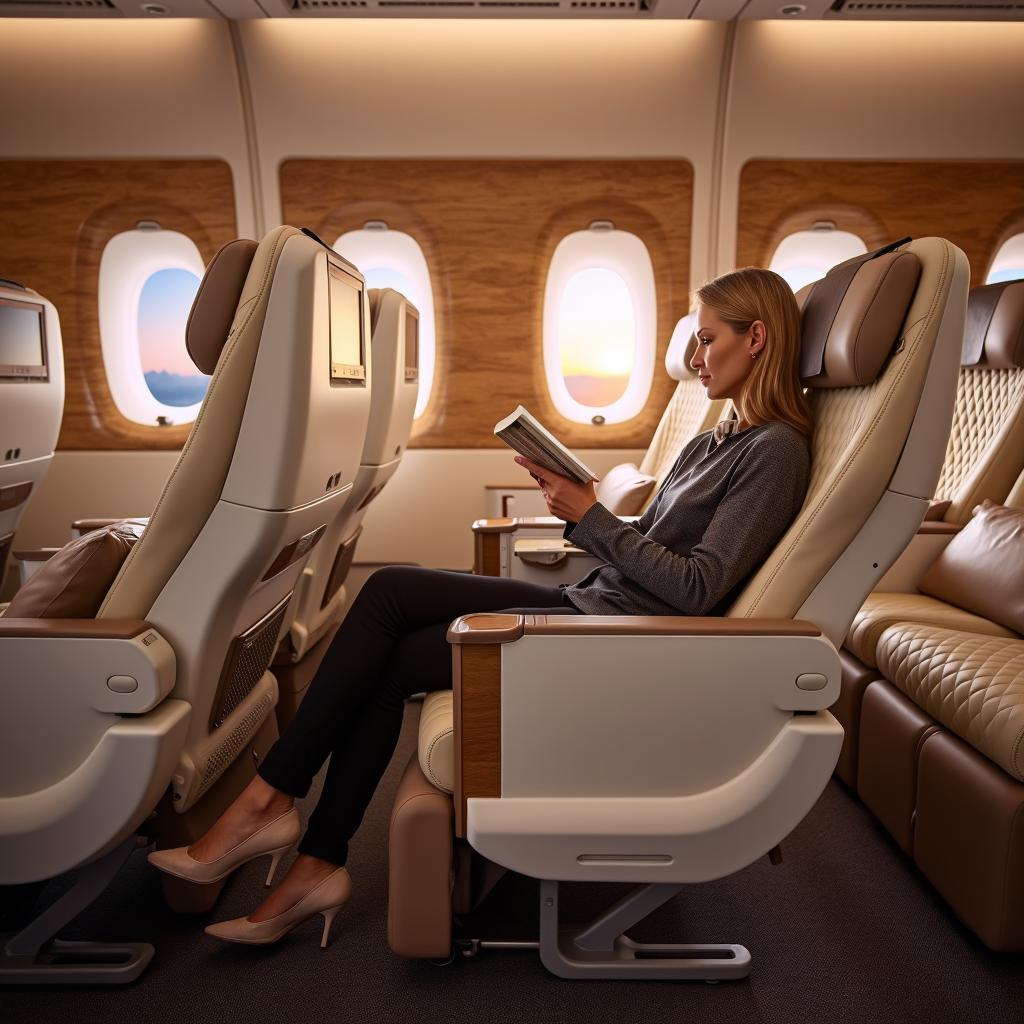
Examples of AI Generations